
Easy No-Bake Mango Coconut Rice Pudding
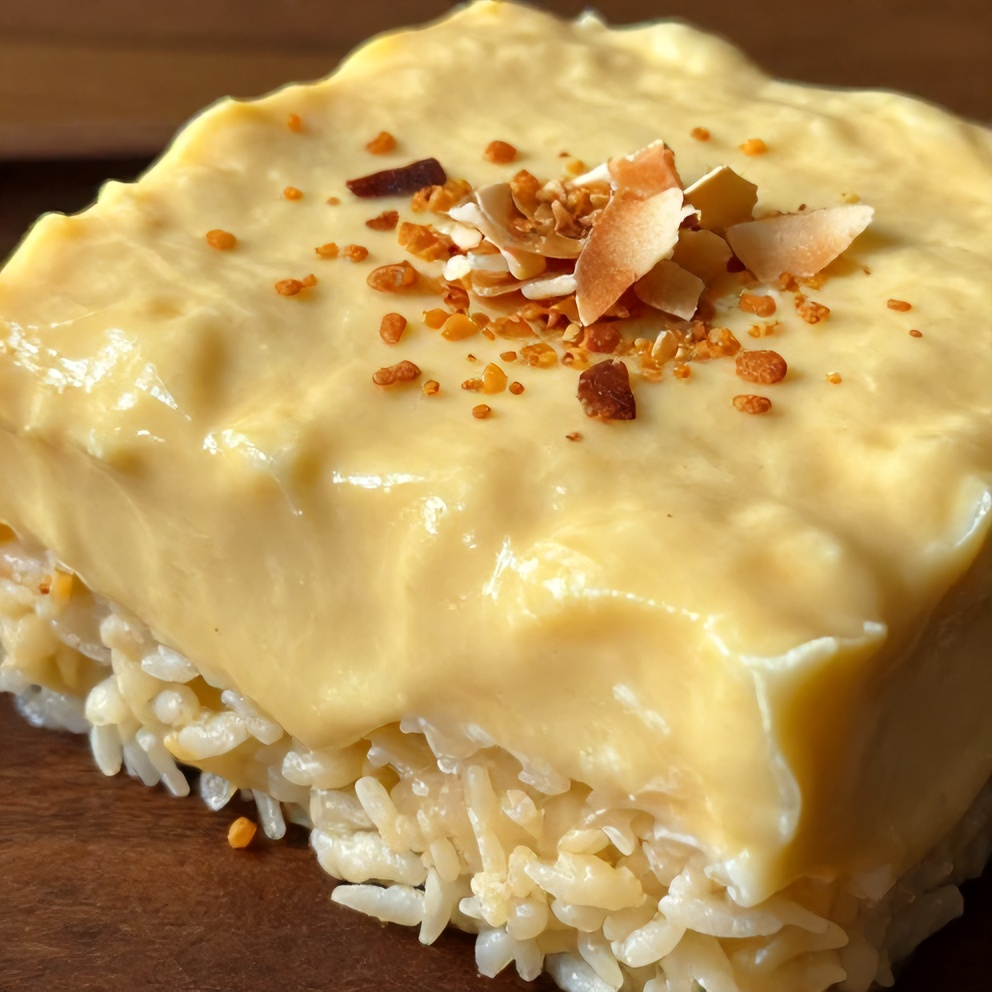
Easy No-Bake Mango Coconut Rice Pudding is the perfect summer dessert. After making this many times, I’ve perfected the creamy, tropical flavor that’s always a hit. The fresh mango and coconut milk combo makes this dish irresistible. Try it with my Easy Chipotle Corn Salsa for a perfect summer cookout. If you love recipes like this, you’ll also enjoy Easy Chipotle Corn Salsa Recipe and Classic Sweet Potato Casserole with Crunchy Pecan Topping.
Why This Easy No-Bake Mango Coconut Rice Pudding Is Pure Comfort
- Ready in just 30 minutes with no baking required
- Creamy, tropical flavor that's perfect for summer
- Made with just 8 simple ingredients
- Better than takeout and freezer-friendly
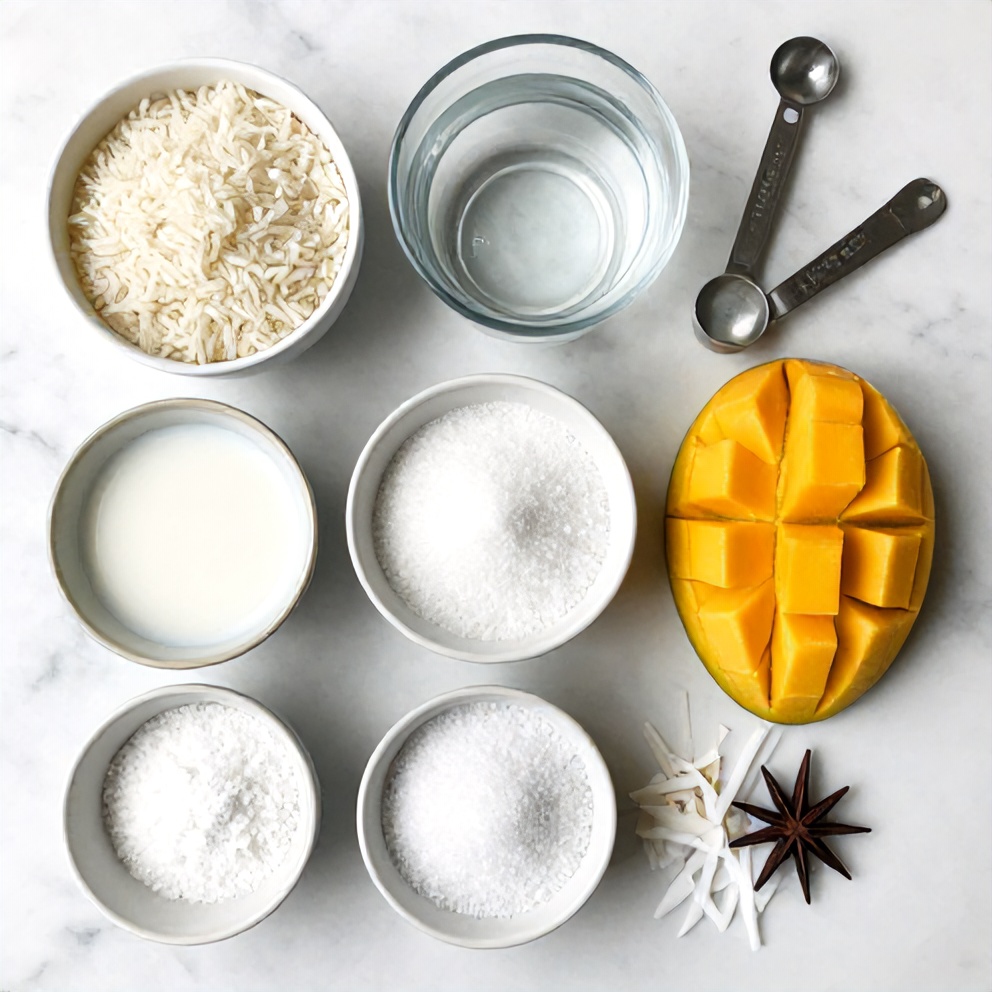
What You'll Need for Easy No-Bake Mango Coconut Rice Pudding
Choosing the right ingredients makes a big difference, but this recipe is forgiving enough to work with what you have.
- 1 cup jasmine rice
- 1 can (14 oz) coconut milk
- 1 1/2 cups water
- 1/2 cup granulated sugar
- 1/2 tsp salt
- 1 ripe mango, diced
- 1/2 cup shredded coconut
- 1/2 tsp vanilla extract
- 1/2 tsp vanilla extract
- Optional: Additional shredded coconut for topping
📝 Ingredient Notes
- mango: Use ripe, fresh mango for the best flavor. You can also use frozen mango if needed.
🛒 Tools & Equipment I Recommend
- Instant Pot — Saves time and energy by cooking rice perfectly in minutes. → See on Amazon
- Immersion Blender — Ensures smooth, creamy texture without having to transfer the pudding to a blender. → See on Amazon
How to Make Easy No-Bake Mango Coconut Rice Pudding
- Step 1: Combine rice, coconut milk, water, sugar, and salt in a large saucepan. Bring to a boil.
- Step 2: Reduce heat to low, cover, and let simmer for 15-20 minutes, stirring occasionally, until rice is tender and mixture has thickened.
- Step 3: Remove from heat and stir in diced mango, shredded coconut, and vanilla extract.
- Step 4: Transfer the mixture to a blender or use an immersion blender to puree until smooth. Chill in the refrigerator for at least 2 hours before serving.
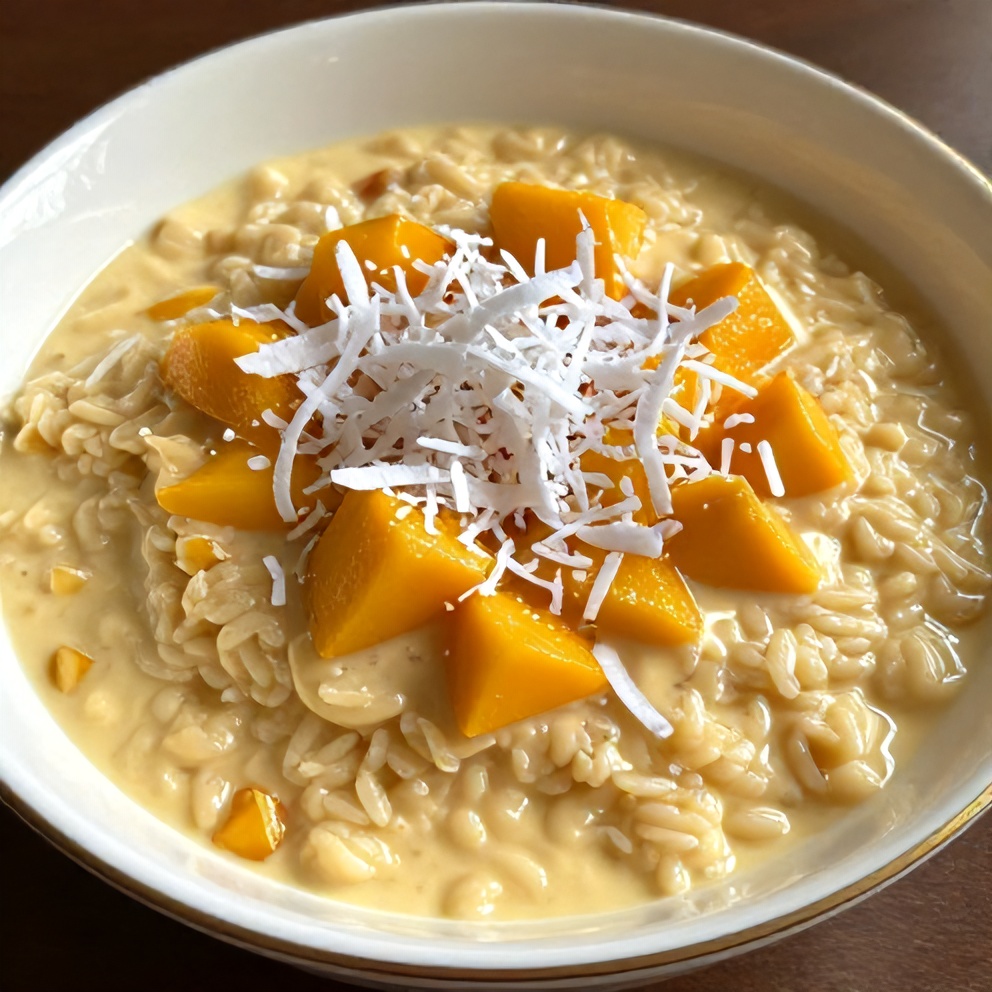
- Step 5: Serve chilled, topped with additional shredded coconut if desired.
Cook's Tips for Perfect Easy No-Bake Mango Coconut Rice Pudding
- Common mistake and fix: Don't overcook the rice. It can become mushy and affect the texture of the pudding.
- Tip: For a smoother pudding, blend it until completely smooth before chilling.
- Tip: You can make this recipe up to 2 days ahead and store it in the refrigerator.
Storing & Reheating Easy No-Bake Mango Coconut Rice Pudding
Short-Term Storage
Store in an airtight container in the fridge. Store leftovers in an airtight container in the refrigerator for up to 5 days. Make-ahead tip: Yes, up to 2 days ahead.
Freezing Easy No-Bake Mango Coconut Rice Pudding
Freeze for up to 2 months. Thaw overnight in the refrigerator before serving.
Recipe Notes
- Chef tip: For a tropical twist, add a pinch of cardamom or a splash of rum to the pudding mixture.
- Best substitution: You can substitute the mango with pineapple or peaches for a different flavor.
- Make-ahead: This recipe can be made up to 2 days ahead and stored in the refrigerator.
- Scaling: This recipe can be easily doubled to serve a larger crowd.
- Troubleshooting: If the pudding is too thick, add a little more coconut milk or water to reach your desired consistency.
Want to level up this recipe?
High-quality blender — Ensures a smooth, creamy texture for your pudding. → Check price on Amazon
Easy No-Bake Mango Coconut Rice Pudding
Ingredients
Main Ingredients
- 1 cup jasmine rice
- 1 can (14 oz) coconut milk
- 1 1/2 cups water
- 1/2 cup granulated sugar
- 1/2 tsp salt
- 1 ripe mango, diced
- 1/2 cup shredded coconut
- 1/2 tsp vanilla extract
Seasonings
- 1/2 tsp vanilla extract
Optional Toppings
- Additional shredded coconut for topping
Instructions
- Step 1: Combine rice, coconut milk, water, sugar, and salt in a large saucepan. Bring to a boil.
- Step 2: Reduce heat to low, cover, and let simmer for 15-20 minutes, stirring occasionally, until rice is tender and mixture has thickened.
- Step 3: Remove from heat and stir in diced mango, shredded coconut, and vanilla extract.
- Step 4: Transfer the mixture to a blender or use an immersion blender to puree until smooth. Chill in the refrigerator for at least 2 hours before serving.
- Step 5: Serve chilled, topped with additional shredded coconut if desired.
Notes
- Chef tip: For a tropical twist, add a pinch of cardamom or a splash of rum to the pudding mixture.
- Best substitution: You can substitute the mango with pineapple or peaches for a different flavor.
- Make-ahead: This recipe can be made up to 2 days ahead and stored in the refrigerator.
- Scaling: This recipe can be easily doubled to serve a larger crowd.
- Troubleshooting: If the pudding is too thick, add a little more coconut milk or water to reach your desired consistency.
Storage
- Fridge: Store leftovers in an airtight container in the refrigerator for up to 5 days.
- Freezer: Freeze for up to 2 months. Thaw overnight in the refrigerator before serving.
- Make ahead: Yes, up to 2 days ahead.
Nutrition Per Serving
- Calories: 280
- Protein: 4g
- Fat: 8g
- Carbs: 48g
- Fiber: 2g
- Sugar: 18g
- Sodium: 180mg
- Cholesterol: 0mg
- Sat. Fat: 6g
Nutritional values are estimates only. Actual values may vary by brand and portion size.
Easy No-Bake Mango Coconut Rice Pudding FAQs
Yes, you can make this Easy No-Bake Mango Coconut Rice Pudding up to 2 days ahead and store it in the refrigerator.
Ensure you blend the mixture until completely smooth. If you prefer a lumpier texture, you can skip this step.
Yes, you can freeze this Easy No-Bake Mango Coconut Rice Pudding for up to 2 months. Thaw overnight in the refrigerator before serving.
You can substitute the mango with pineapple or peaches for a different flavor.
Yes, this Easy No-Bake Mango Coconut Rice Pudding is naturally gluten-free.
A Warm Final Note
I can’t wait for you to try Easy No-Bake Mango Coconut Rice Pudding and see how effortlessly it comes together. When you make it, pop back here and leave a rating or share how it turned out — I love hearing from you!