Crispy Dill Pickle Bread – Better Than Takeout
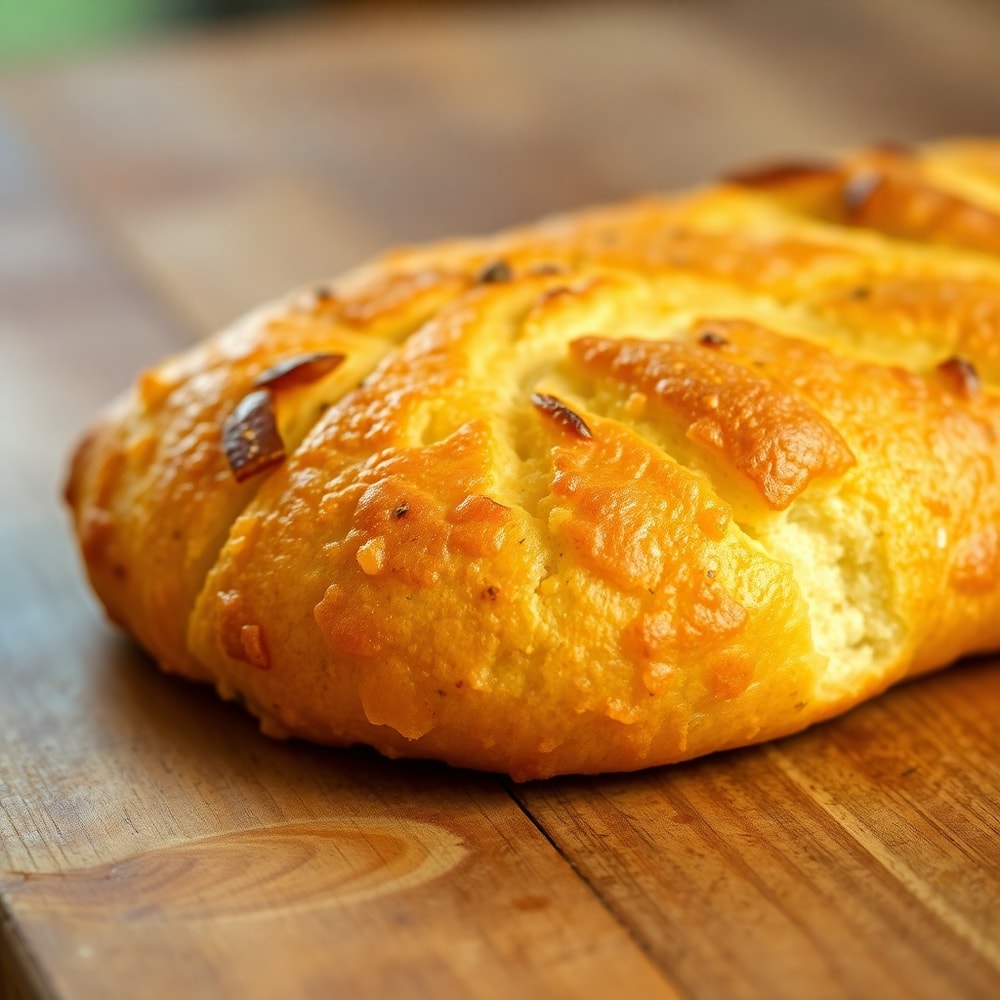
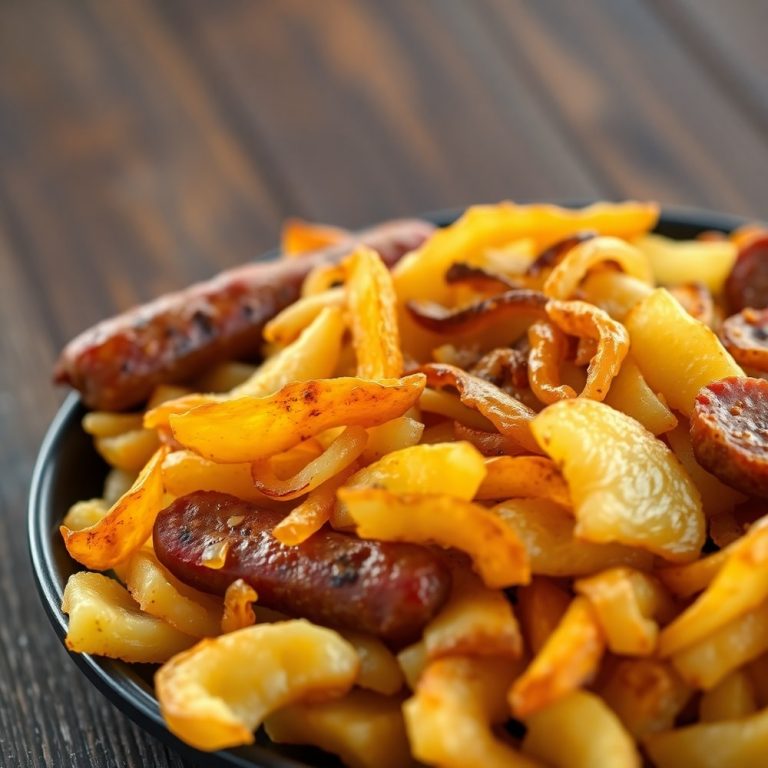
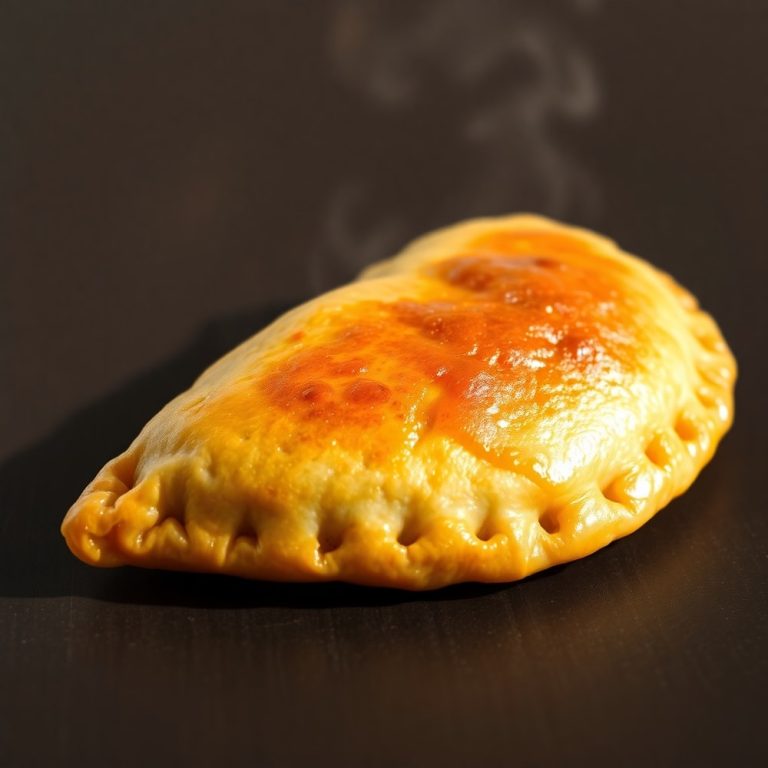
Crispy Dill Pickle Bread – Better Than Takeout. After making this many times, I’ve found the trick to the perfect crispy coating is to let the batter rest. It’s a game-changer for busy weeknights. Keep reading for my best tips. If you love recipes like this, you’ll also enjoy Fried Potatoes, Onions, and Smoked Polish Sausage and Crispy Ravioli Appetizer.
Why This Crispy Dill Pickle Bread – Better Than Takeout Is Pure Comfort
- Irresistible crunchy coating
- Tangy dill pickle flavor in every bite
- Easy to make and ready in 30 minutes
- Better than takeout and freezer-friendly
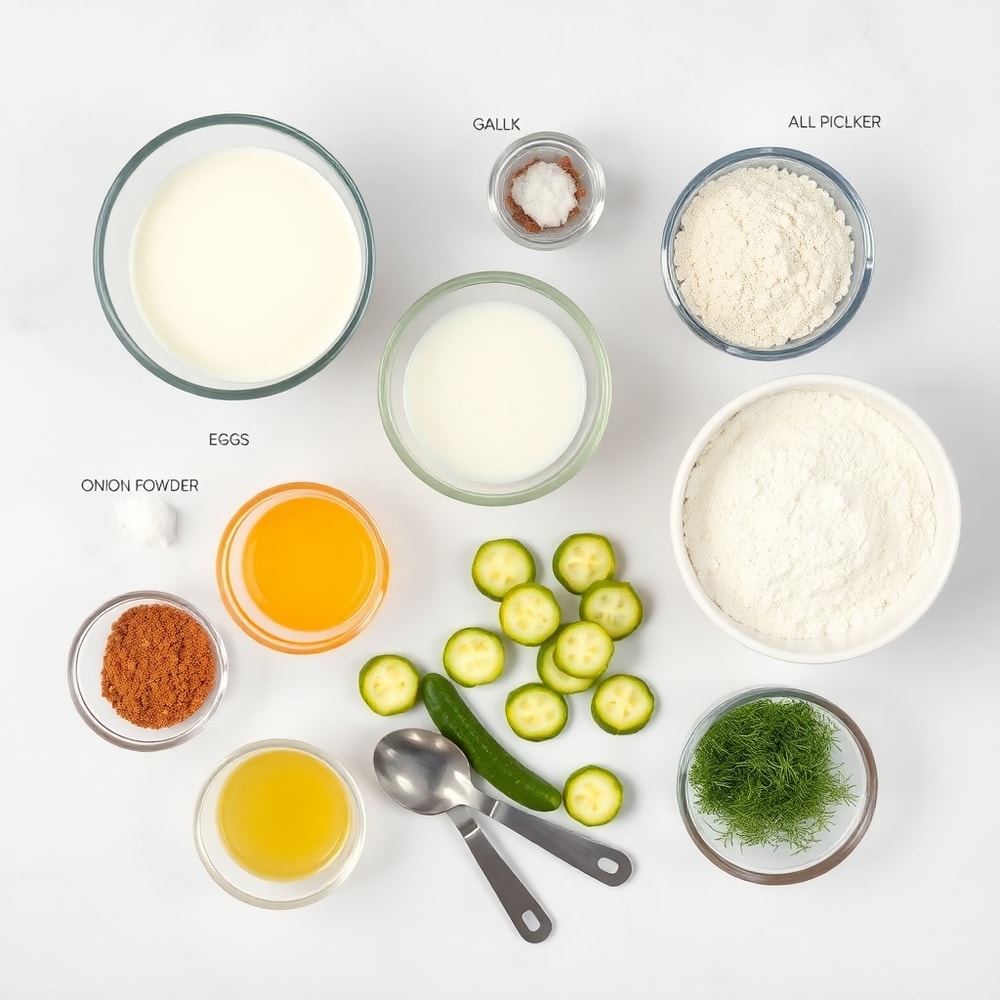
What You'll Need for Crispy Dill Pickle Bread – Better Than Takeout
Choosing the right ingredients makes a big difference, but this recipe is forgiving enough to work with what you have.
- Dill pickle slices
- All-purpose flour
- Milk
- Eggs
- Garlic powder
- Onion powder
- Paprika
- Salt
- Black pepper
- Dried dill
- Optional: Lemon wedges
- Optional: Ranch or honey mustard dipping sauce
📝 Ingredient Notes
- Dill pickle slices: Thinner slices work best for easier frying.
🛒 Tools & Equipment I Recommend
- Cast iron skillet — Even heat for perfect crispiness → See on Amazon
- Deep fry thermometer — Ensures safe and even frying → See on Amazon
How to Make Crispy Dill Pickle Bread – Better Than Takeout
- Prepare batter: Whisk together flour, milk, eggs, and seasonings until smooth. Let it rest for 10 minutes.
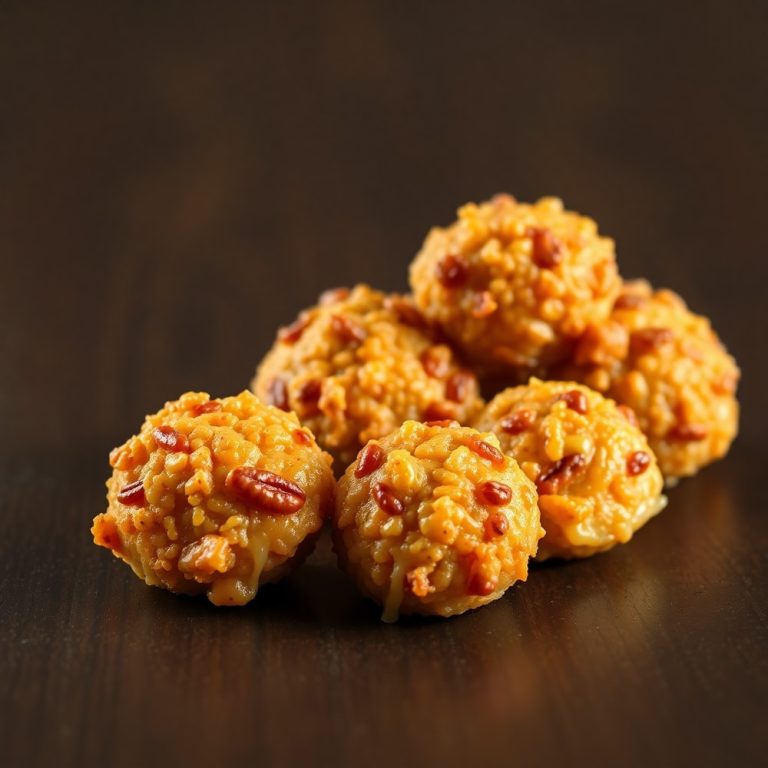
- Coat pickles: Dip pickle slices into the batter, letting excess drip off. Fry in hot oil until golden brown and crispy.
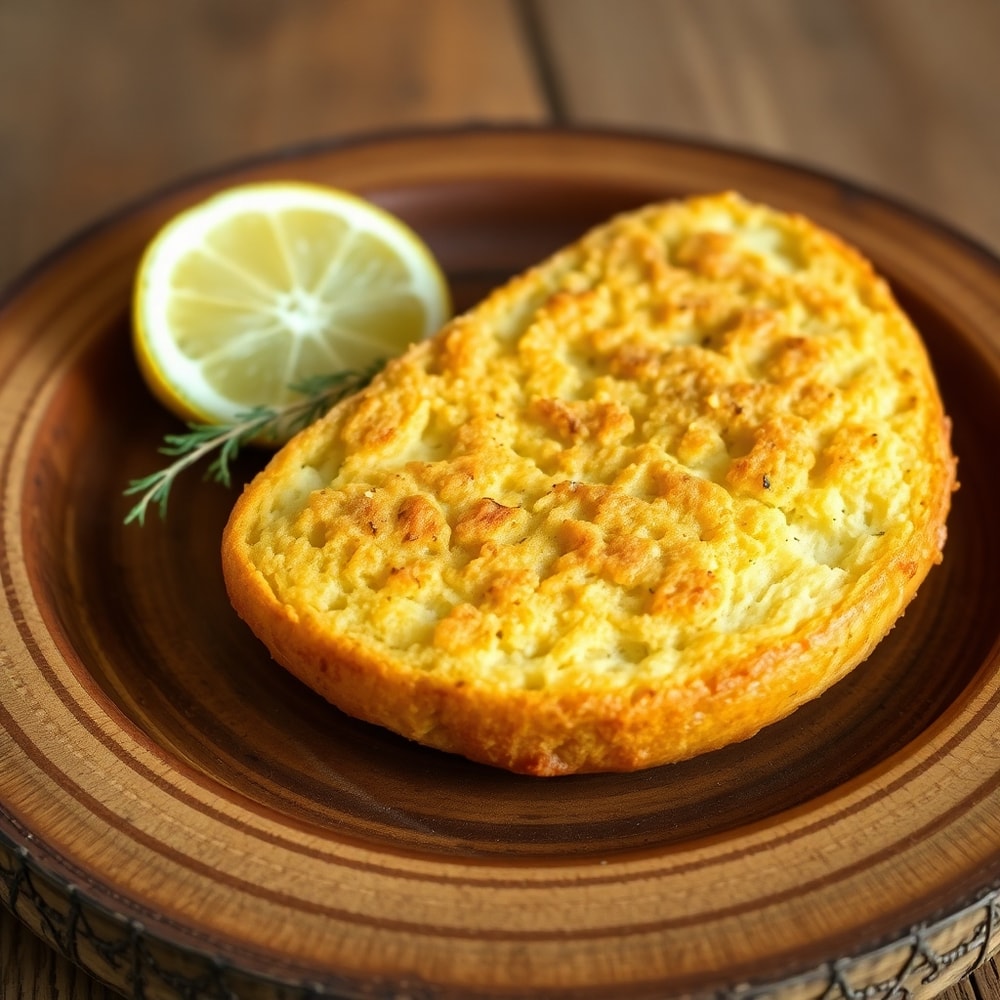
- Drain and serve: Transfer to a paper towel-lined plate, season with salt, and serve with lemon wedges and dipping sauce.
Cook's Tips for Perfect Crispy Dill Pickle Bread – Better Than Takeout
- Common mistake and fix: Don't overcrowd the pan. Fry pickles in batches to maintain oil temperature and crispiness.
- Substitution: Use buttermilk instead of regular milk for a tangier flavor and better crispiness.
- Make-ahead: Store in an airtight container in the fridge for up to 3 days. Reheat in the oven at 350°F (180°C) for 10 minutes.
Storing & Reheating Crispy Dill Pickle Bread – Better Than Takeout
Short-Term Storage
Store in an airtight container in the fridge. Store in an airtight container for up to 3 days Make-ahead tip: Prepare batter up to 1 day ahead
Freezing Crispy Dill Pickle Bread – Better Than Takeout
Not recommended
How to Reheat Without Drying It Out
Oven: 350°F (180°C) for 10 minutes Microwave: Not recommended
Recipe Notes
- Chef tip: For a spicy version, add a pinch of cayenne pepper to the batter.
- Best substitution: Use panko breadcrumbs instead of flour for a gluten-free version.
- Scaling: This recipe can be easily doubled or tripled for larger crowds.
- Troubleshooting: If pickles are sticking to the pan, add a bit more oil or let the pan heat up longer.
Want to level up this recipe?
High-quality pickle slicer — Ensures even slices for consistent frying → Check price on Amazon
Crispy Dill Pickle Bread – Better Than Takeout
Ingredients
Main Ingredients
- Dill pickle slices
- All-purpose flour
- Milk
- Eggs
Seasonings
- Garlic powder
- Onion powder
- Paprika
- Salt
- Black pepper
- Dried dill
Optional Toppings
- Lemon wedges
- Ranch or honey mustard dipping sauce
Instructions
- Prepare batter: Whisk together flour, milk, eggs, and seasonings until smooth. Let it rest for 10 minutes.
- Coat pickles: Dip pickle slices into the batter, letting excess drip off. Fry in hot oil until golden brown and crispy.
- Drain and serve: Transfer to a paper towel-lined plate, season with salt, and serve with lemon wedges and dipping sauce.
Notes
- Chef tip: For a spicy version, add a pinch of cayenne pepper to the batter.
- Best substitution: Use panko breadcrumbs instead of flour for a gluten-free version.
- Scaling: This recipe can be easily doubled or tripled for larger crowds.
- Troubleshooting: If pickles are sticking to the pan, add a bit more oil or let the pan heat up longer.
Storage
- Fridge: Store in an airtight container for up to 3 days
- Freezer: Not recommended
- Oven reheat: 350°F (180°C) for 10 minutes
- Microwave reheat: Not recommended
- Make ahead: Prepare batter up to 1 day ahead
Nutrition Per Serving
- Calories: 250
- Protein: 7g
- Fat: 12g
- Carbs: 28g
- Fiber: 1g
- Sugar: 1g
- Sodium: 1200mg
- Cholesterol: 70mg
- Sat. Fat: 2g
Nutritional values are estimates only. Actual values may vary by brand and portion size.
Crispy Dill Pickle Bread – Better Than Takeout FAQs
Yes, prepare the batter up to 1 day ahead. Fry just before serving for the best crispiness.
Ensure your oil is hot enough (350°F/180°C) and don't overcrowd the pan. Let the batter rest for 10 minutes before frying.
While you can freeze the cooked pickles, they may lose some crispiness upon thawing.
Yes, cook at 375°F (190°C) for 10-12 minutes, flipping halfway through.
Serve with fried potatoes, onions, and smoked Polish sausage or crispy ravioli appetizer for a complete meal.
A Warm Final Note
I can’t wait for you to try Crispy Dill Pickle Bread – Better Than Takeout and see how effortlessly it comes together. When you make it, pop back here and leave a rating or share how it turned out — I love hearing from you!